|
What we will present here is how WE are building OUR railroad. This is not to say that this is the only way, it’s just OUR way.
First off we went to the big box stores and local lumber yards and looked at the lumber! Well let’s say it was not encouraging to say the least! Most was so green or warped that it was just not going to do for our basic bench work. We located some really good manufactured baseboard material that was made from many small pieces of clear pine and had a nice 1x3 profile. 1x3 is actually 3.4 inch by 2 1/2 inch. It was very straight, strong, and clear. It does require pre-drilling however because it will crack / split. We screwed the whole layout together WITHOUT glue. We have found that some movement is OK and WHEN we had to go back and make changes it was much easier. |

|
Denver & Rio Grande Western Narrow Gauge
Construction Details |

|
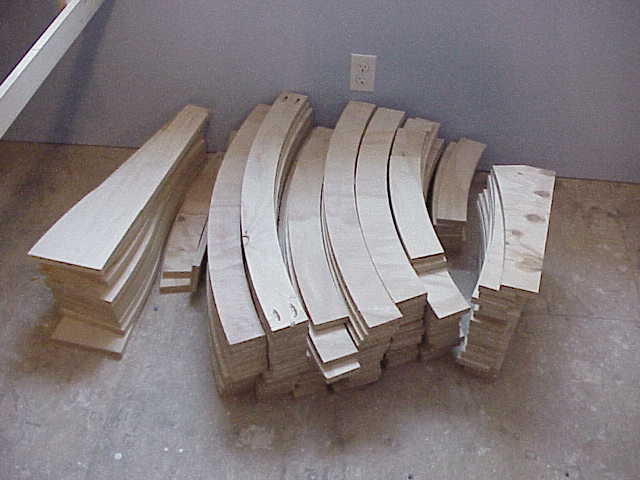
The subgrade is all 3/4 inch cabinet grade (sort of) plywood. Real cabinet grade is very costly but the big box stores sell Chinese cabinet grade and its what we used to call ‘shop grade’. So we use the big box cabinet stuff. I have a ShopBot digital CNC router and cut out all of the pieces on it. We have various radius pieces and switch blocks as well. They are joined using a Kreg pocket drill jig and have proven to be very strong so far.
http://www.kregtool.com/Kreg-Jigreg-Prodview.html
The assemblies are fastened to the L-girder or benchwork with screws at least every 16 inches or so and make for a very ridged roadbed. Minimum curve on the layout is 32 inch radius and all turnouts are #5. We have pieces that are 32, 42, and 48 inch radius curves. We also have pieces for making a turnout off of a curve and pieces for making a siding.
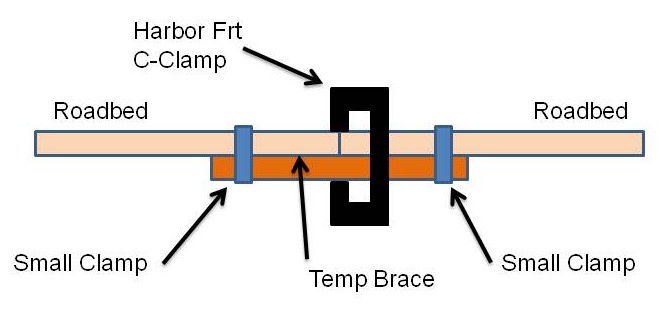
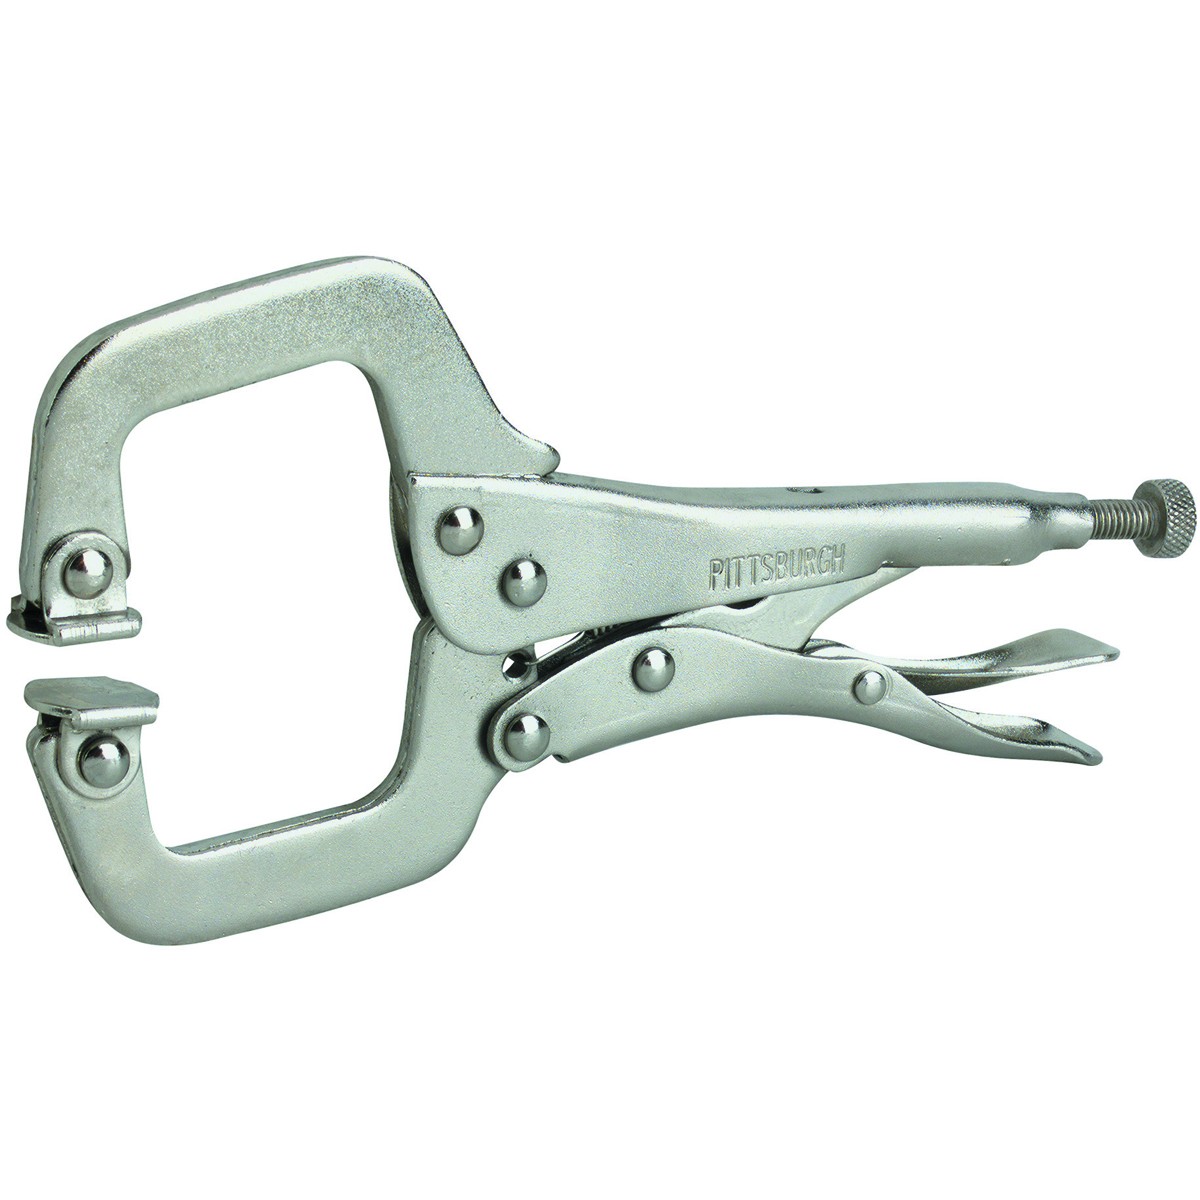
The secret to putting all of these pieces together is to get a good flat straight joint. The Kreg company recommends one of their large c-clamps. I found the same thing at harbor Freight. I also use two smaller clamps on either side of the joint clamped to a temporary brace or ‘fish plate’. I have only had to make the temporary plate permanent in a couple of places especially where there is stress on the joint because of the changing of a grade. |