|
Denver & Rio Grande Western Narrow Gauge
Construction Details (continued) |


|
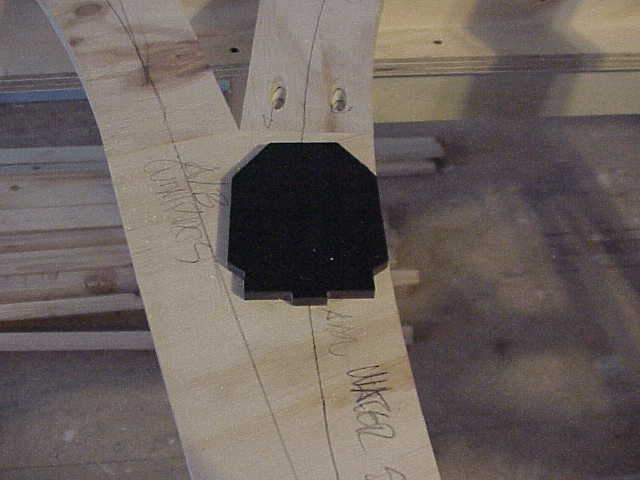
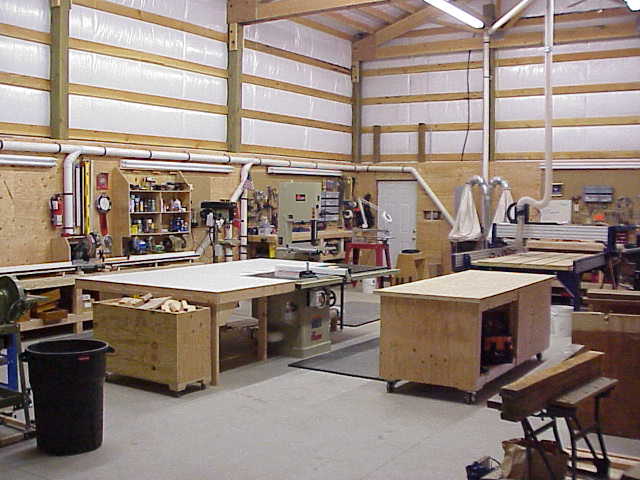
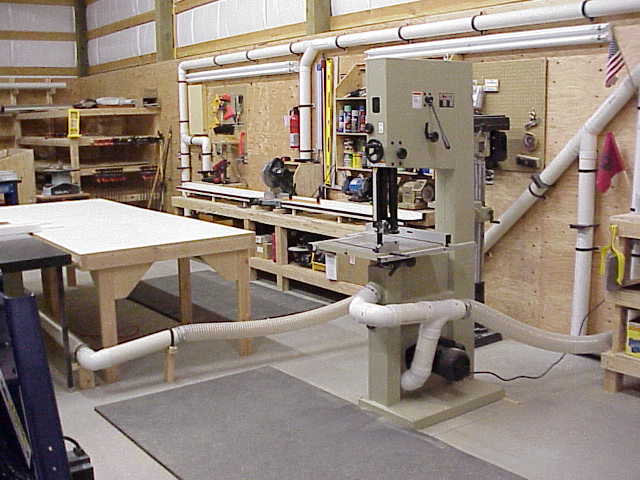
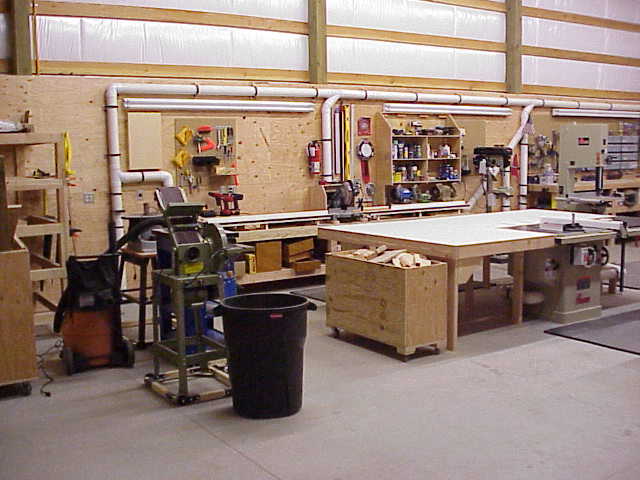
I have a wood shop located a few miles from the layout location. This shop is equipped with a 48 by 96 CNC router manufactured by ShopBot and the software we use is called Aspire from Vectric software. Both of these companies give excellent support and have a very loyal following on their respective forums. We have used these devices and software to give us some interesting pieces to work with. The pictures on this page will show some of the equipment we used to create the layout pieces. I have a 19 inch resaw bandsaw, cabinet saw, 24 inch planer, chop saw, and tons of other wood working tools. I am new to all of it but I am having a ball learning how to use them. |
|
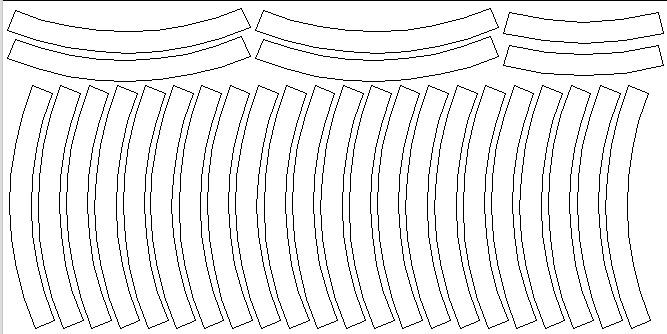
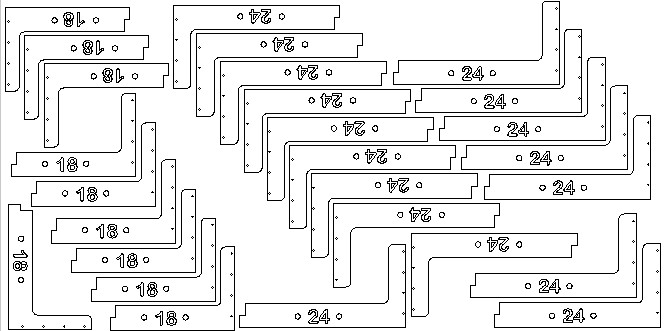
The images below are from the Aspire software and will give you a hint as to how we laid out and cut out all of the pieces used in the layout itself. |

|
Maximum grade is 2% (2 inch rise on 100 inches of travel) on the mainline. We made a really simple grade tool using a piece of wood 25 inches long with a 1/2 inch block of wood under one end. You place it on the grade you are working on and place a small level on top of it. As you raise the roadbed to level the small level will indicate that it is level and there you have a 2% grade. How we got to 2% is as follows: 2 inch rise on 100 is 2% so, 25 inches is 1/4th of 100 inches, 1/2 inch is 1/4th of 2 inches.
We also have made an ON30 clearance gauge that works good for all things straight. You MUST add at least 1/2 inch per side for curves or that new Bachmann articulated will not clear. |